

-
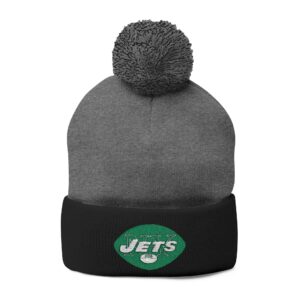
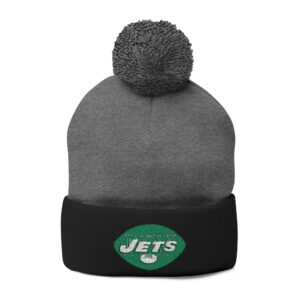
New York Jets Pom-Pom Knit Cap (Embroidery)
Price range: $25.42 through $34.99 Select options This product has multiple variants. The options may be chosen on the product page -
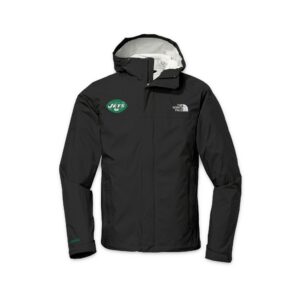
New York Jets North Face Unisex DryVent Rain Jacket
Price range: $229.99 through $238.12 Select options This product has multiple variants. The options may be chosen on the product page -

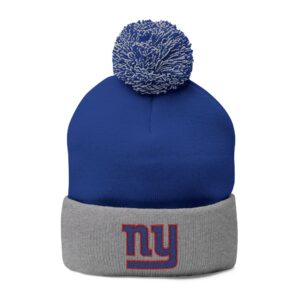
New York Giants Pom-Pom Knit Cap (Embroidery)
Price range: $25.42 through $34.99 Select options This product has multiple variants. The options may be chosen on the product page -
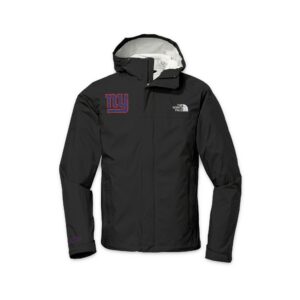
New York Giants North Face Unisex DryVent Rain Jacket
Price range: $229.99 through $238.12 Select options This product has multiple variants. The options may be chosen on the product page -
New York Giants Pom-Pom Knit Cap (Embroidery)
Price range: $25.42 through $34.99 Select options This product has multiple variants. The options may be chosen on the product page -
New York Jets Pom-Pom Knit Cap (Embroidery)
Price range: $25.42 through $34.99 Select options This product has multiple variants. The options may be chosen on the product page -

Philadelphia Eagles Pom-Pom Knit Cap (Embroidery)
Price range: $25.42 through $34.99 Select options This product has multiple variants. The options may be chosen on the product page -
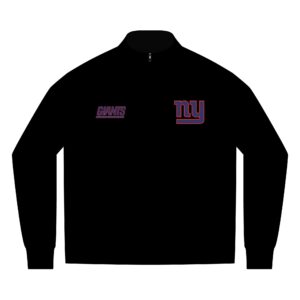
New York Giants Men’s Linear Texture Quarter-Zip (Embroidery)
Price range: $94.98 through $109.98 Select options This product has multiple variants. The options may be chosen on the product page
Explore New Jersey
Explore New Jersey
Your source for everything happening in the Garden State. Enjoy live music year-round, skiing, hiking, beaches, rivers, and mountains. Explore New Jersey’s wine scene by visiting top wineries and vineyards offering award-winning wines. Check out reviews and photos of the best places to sip and sample. Love beer? Discover New Jersey’s breweries — currently home to 123 licensed breweries — and explore the highest-rated beers brewed in the state.
© 2026 Explore New Jersey, a Sunset Entertainment & Media Company | 1928 The Woods II - Cherry Hill, New Jersey 08003. All Rights Reserved.